Tips to Changing Track Gears Like a Pro
Let's talk track bike mechanics...
Negotiating gear changes... pedal changes... general bike maintenance...
It can be a painful experience, especially if you've come from a road background, or no real background at all in the sport - particularly when you need something done immediately.
In this blog we're going to talk gearing and guide you through this common practice that most seasoned track cyclists will experience during training or racing sessions.
Why Change Gears?
The gear chart offers so many multiple combinations of chain rings and cogs.
But what do they all mean? And why should you change gears?
Changing gears gives you the ability to alter your pedalling rates. As gear ratios increase, the need for strength development becomes more important.
Small gears generally will help develop your pedalling efficiency, but may not necessarily give you the ability to maximise your force and speed.
Warm up gear ratio’s are generally much smaller than racing gear ratios.
Why?
They allow for the body to increase its core temperature through pedalling quickly without relying on too much muscular force and power to get the pedals turning over.
As you complete your warm up, and then progress towards your training or racing efforts, the option to increase your gear ratio to match your strength and efficiency becomes an option.
Generally one that you’ll want to take as it will allow you to maximise your efforts (whether that be strength focused, power, or speed focused) to achieve a desired outcome.
For those of you new to the sport of track cycling, the gear chart below shows varying combinations of chain rings and cogs that can be combined to achieve a set gear ratio.
On the top, the smaller numbers indicate the rear cogs that can be used, and on the left are the front chain rings.
Generally, track cyclists will use cog ranges between 12 and 16, and chain rings between 44 and 60 to achieve gear combinations for both warm ups (for example: 48 x 16 = 81") and bigger gear efforts ranging between 94" and 130".

Gear Changing Equipment
To change gears you need to have the following equipment:
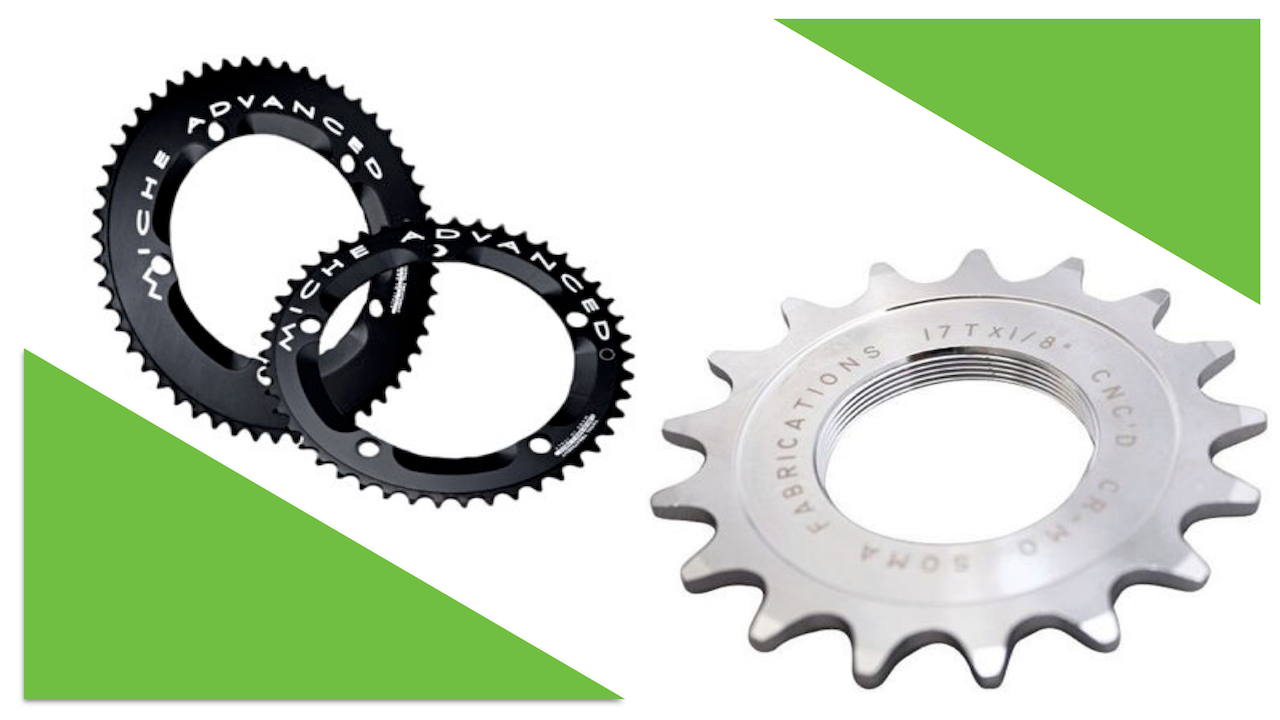
- Chain rings and cogs to fit your bike crank and rear wheel
- Allen key (usually 5mm) to unscrew and re-screw chainring bolts
- Chain-whip
- 15mm spanner (or spanner/allen key required to loosen and retighten rear wheel)
- Lock ring (for wheels requiring it)
Tips to Changing a Front Chain Ring
- Loosen the chain ring bolts before you loosen the chain tension, this makes it easier to untighten the bolts.
- Once you’ve loosened the chain ring bolts, put them somewhere where they’re not going to get lost or fall through a crack in a grate or floorboard.
- When you’re putting on your desired chain ring, tighten the chain ring bolts back on in a star fashion, as opposed to re-screwing them in an orderly fashion around the chain ring. This ensures even distribution of chain ring tension on the crank arm, which will help to reduce warping of the chain ring over time.
Tips to Changing a Rear Cog
- Ensure when you take your rear wheel off, you don’t let your chain lay on the ground. Instead, put your bike on a stand or hang it on a rack. This will help keep the chain clean, reducing the risk of it collecting dust and debris.
- Once the chain whip is wrapped around the rear cog, use your body weight to loosen the cog off and keep the wheel close to you. With riding pressure, cogs can get tight on the wheel and using your body weight can alleviate some of the strength required to loosen it.
- An easy way to make your cogs more easily idenifiable (instead of having to count the number of teeth on each) is to colour code them, this makes it quicker to find the right cog when you need it in a hurry.
Chain Tension & Tight Spots
Chain tension is important.
When tightening your wheel before heading out on the track, making sure your chain tension is as good as it can be as it will make a big difference to your free rolling speed.
If your chain is too tight then your rolling speed will be compromised (symptoms include: noise, stiffness, and a wheel that decelerates quickly upon spinning it).
On the other hand, if it’s too loose - you run the risk of it falling off the chain ring - especially if your bike has some flexion.
Getting the tension just right takes practice, take your time in getting your chain tension right and ensure that your rear wheel is centred when tightening.
Once you’ve tightened your rear wheel, let your wheel spin freely and get a feel for the chain tension for a couple of complete pedal revolutions.
If you find that you have a tight spot, that is a spot in the chain that is tighter than others, stop your wheel spin at that point and adjust your chain tension accordingly.
Note: With worn chains, tight spots are more common so if you find that when tightening your wheel, you just can’t seem to get a good chain tension (without the chain being too loose to eliminate tight spots) then it might be time for a new chain. Or, check that your chain rings aren't bent, and cogs are in good working condition.
If you have any questions about changing gears, or would like some more information, leave us a comment below!
